
Introduction to Skull Lava Cake
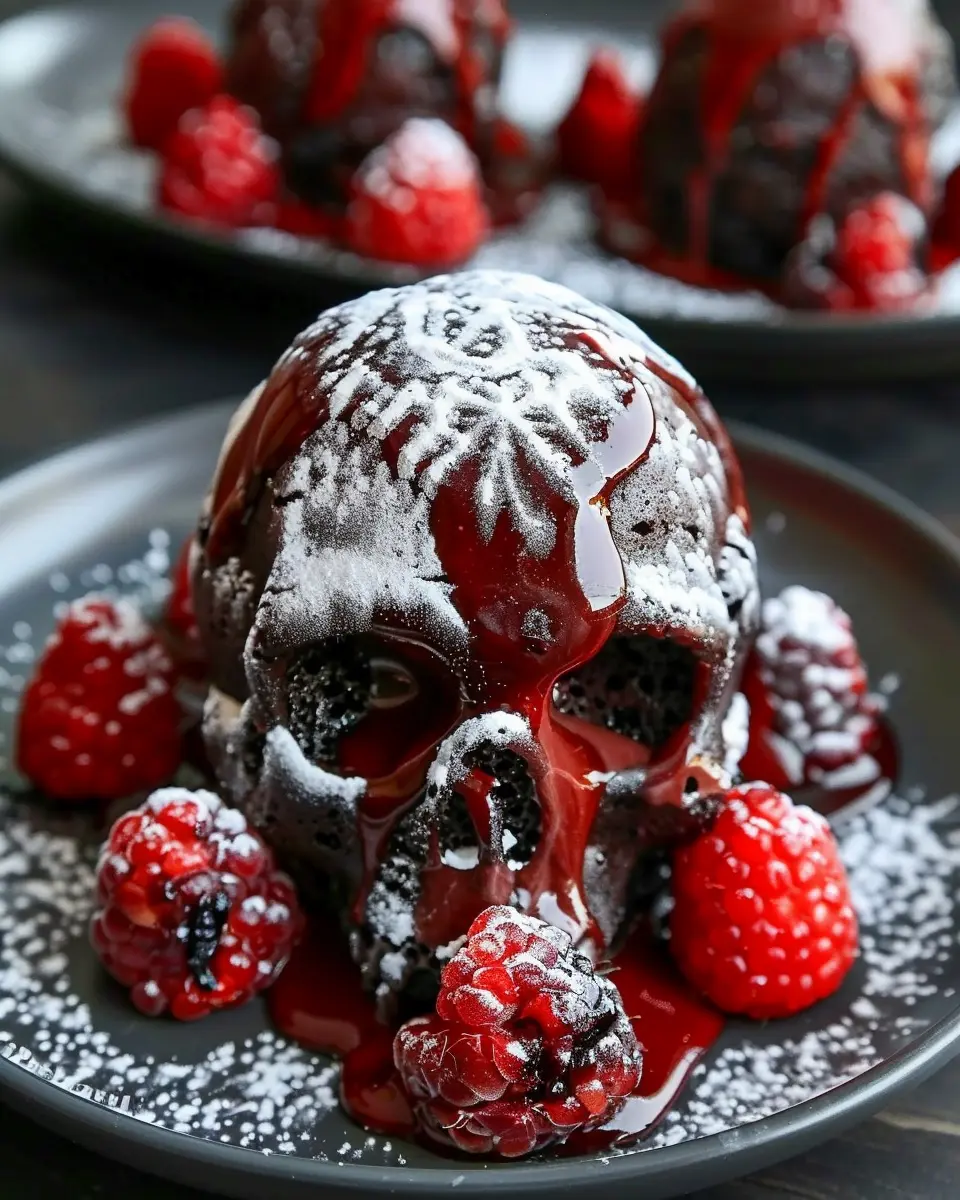
Imagine a dessert that’s not just a treat but also a conversation starter at your Halloween gathering. Enter the Skull Lava Cake! This unique dessert combines the classic charm of molten chocolate cake with a playful, spooky twist, making it the ultimate centerpiece for your Halloween celebration.
Why Skull Lava Cakes are the Ultimate Halloween Treat
These delightful cakes are perfect for a variety of reasons:
- Visual Appeal: Shaped like skulls, these cakes bring that eerie yet festive vibe to your table, instantly catching everyone’s eye.
- Deliciously Decadent: Picture that warm, gooey chocolate lava flowing from the center as you cut into the cake. It’s an explosion of flavor that chocolate lovers can’t resist.
- Customizable Fun: You can easily personalize the filling—how about adding some flavored ganache or even a hint of spice to surprise your guests? The Skull Lava Cake allows you to play with different flavors and ingredients, making it as unique as your Halloween story.
If you’re wondering how to make your Halloween gatherings more festive, look no further than this spooky dessert. Not only will it satisfy your friends’ sweet cravings, but it also gives you a chance to showcase your baking skills.
For tips on how to elevate your baking game, consider taking inspiration from expert resources like Serious Eats or Bon Appétit. These websites are treasure troves for innovative baking ideas.
Beyond taste and ease of preparation, there’s something deeply fulfilling about creating a dessert that surprises and delights. Can you remember a time when a dessert stole the show at a gathering? The Skull Lava Cake aims to do just that, bridging the gap between indulgence and creativity.
As you gather your ingredients to whip up these chocolaty masterpieces, remember that the process is just as enjoyable as sharing the final product with friends and family. This Halloween, don’t just settle for any dessert—let the Skull Lava Cake bring a touch of magic to your spooky celebrations!
Ingredients for Skull Lava Cake
If you’re ready to whip up a showstopper dessert that will impress your friends, look no further than this skull lava cake. This delightful treat oozes rich chocolatey goodness and has a fun twist that makes it perfect for parties or Halloween gatherings. Here’s what you’ll need to get started:
Essential Ingredients
- Dark Chocolate: 200 grams of high-quality dark chocolate will create that decadent lava center.
- Butter: 100 grams of unsalted butter, melted for a smooth texture.
- Eggs: 4 large eggs to help create the perfect soufflé-like consistency.
- Sugar: 100 grams granulated sugar adds just the right amount of sweetness.
- Flour: 50 grams of all-purpose flour for structure.
- Vanilla Extract: 1 teaspoon for that delightful flavor boost.
- Salt: A pinch enhances the chocolate’s richness.
Decorating Options
Don’t forget—your skull lava cake deserves a killer presentation! Consider using:
- Chocolate Ganache: Drizzle for added decadence.
- Edible Glitter: Give it that spooky sparkle.
These ingredients come together to create an impressive dessert that’s surprisingly easy to make. For tips on how to achieve the perfect molten center, check out reliable culinary resources like Bon Appétit or Serious Eats. Are you excited to bake this cake? Let’s dive into the preparation next!
Preparing Skull Lava Cake
Creating a spooky and delicious skull lava cake is a fun and rewarding activity, perfect for any Halloween gathering or themed dinner. With its rich, molten center and impressive presentation, this dessert will not only satisfy your sweet tooth but also impress your guests. Let’s dive into the steps to make this delightful treat!
Gather Your Ingredients
Before starting, let’s make sure you have everything you need on hand. For the skull lava cake, you will require:
- 1 cup of semi-sweet chocolate chips
- 1/2 cup of unsalted butter
- 1 cup of powdered sugar
- 2 large eggs
- 2 large egg yolks
- 1 teaspoon of vanilla extract
- 1/2 cup of all-purpose flour
- 1/4 teaspoon of salt
These simple ingredients combine to create a rich and indulgent dessert that looks as good as it tastes. If you’re curious about the science behind baking, you might want to take a look at this article that explains how ingredients interact during the baking process.
Preheat the Oven and Prepare the Molds
Your oven should be preheated to 425°F (220°C). While it’s heating up, prepare your molds. You can use skull-shaped ramekins or silicone molds for that creepy design. Grease them generously with butter to ensure that your cakes release easily later. Dusting them lightly with flour can also help prevent sticking—this is crucial, especially with a gooey center.
Combine Dry Ingredients for the Cake Batter
In a mixing bowl, start with the dry components. Combine the flour, powdered sugar, and salt. Whisk them together until well blended; this step is key for a smooth batter. Incorporating air into this mix will give your cakes a light texture.
Mix the Wet Ingredients
In a separate bowl, you’ll want to melt the butter and chocolate chips together. A microwave works well for this—simply heat in 30-second intervals, stirring until smooth. Once melted, let it cool slightly before adding in the eggs, egg yolks, and vanilla extract. This mixture should be glossy and fragrant, so take a moment to appreciate it!
Combine Wet and Dry Ingredients
Now, it’s time to bring everything together. Pour the wet ingredients into the bowl of dry ingredients. Gently fold them together until just combined. Be careful not to overmix! You want to create a smooth batter while preserving the air pockets for that molten texture.
Fill the Molds with Batter and Chocolate
Using a spoon, fill each mold about halfway with batter. Then, add a spoonful of chocolate ganache—this can be made by melting extra chocolate chips with a little heavy cream. Top it with more batter until the mold is about 3/4 full. This layering is what creates the irresistible lava effect inside the cake.
Bake to Perfection
Place your filled molds in the oven and bake for 12-14 minutes. Keep an eye on them to avoid overbaking—you’re aiming for a slightly firm outer layer with a gooey center. The edges should be set while the inside remains delightfully molten. If you overbake, you risk losing that sought-after lava center!
Cool and Unmold the Cakes
After baking, let the cakes cool in the molds for about 1-2 minutes. Use a knife to gently run around the edges to ensure they won’t stick. Carefully invert each mold onto a serving plate. If they don’t release immediately, give them a gentle shake or tap. Those perfect skull shapes will add an impressive flair to your dessert table!
Now, with your skull lava cake completed, prepare to wow your friends and family with this spooky yet scrumptious dessert. Enjoy!
Variations on Skull Lava Cake
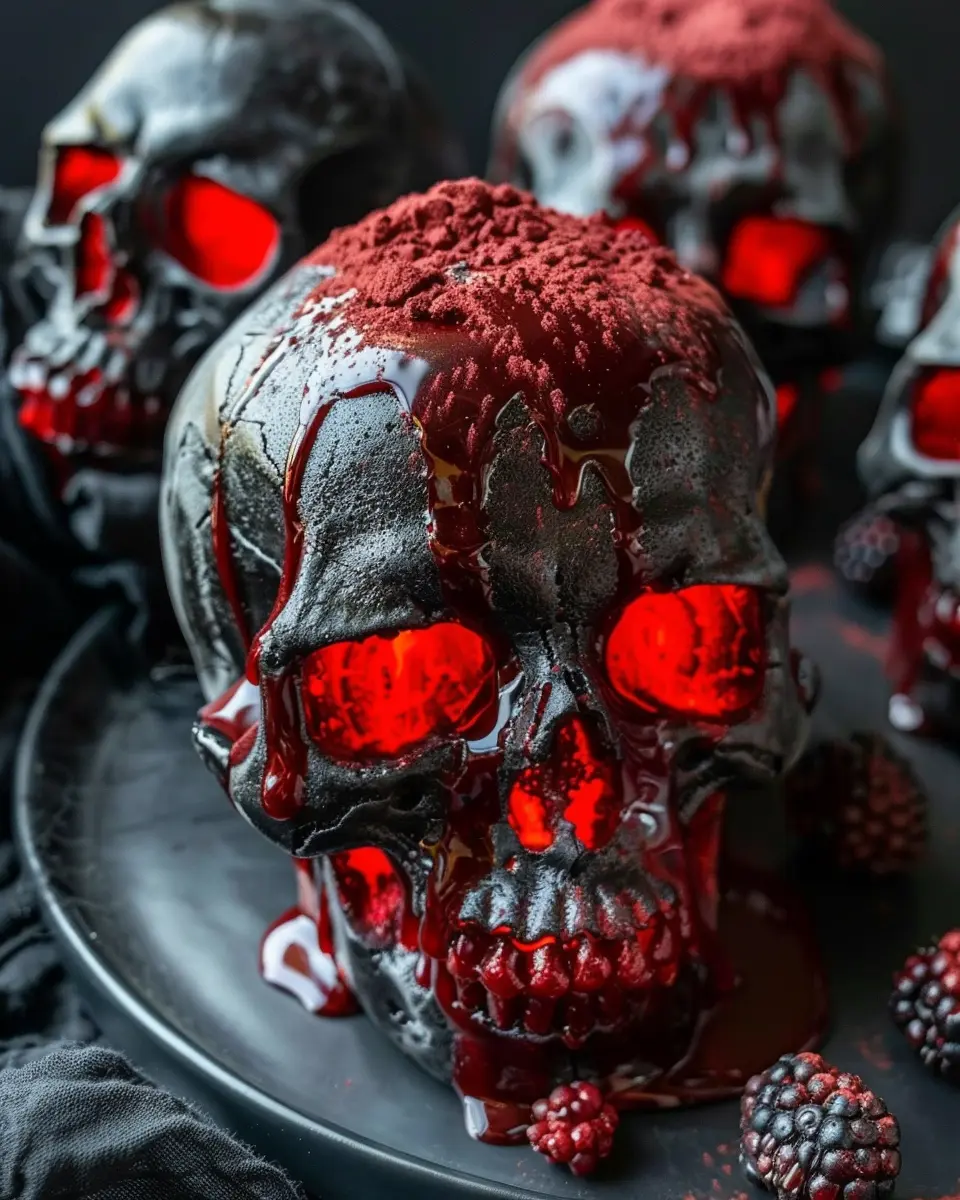
Red Velvet vs. Other Flavors
When it comes to skull lava cake, the world is your culinary oyster! While classic chocolate is always a hit, why not shake things up a bit? Red velvet lava cakes offer a beautiful twist, combining the rich flavor of chocolate with the vibrant allure of red velvet. The cream cheese center can mimic that gooey lava effect, making every bite an indulgent experience.
However, if you’re in the mood for experimentation, consider flavors like salted caramel or even matcha. Each option brings its own unique essence, elevating this spooky treat into an art piece. You can easily swap cocoa for the cake base and even infuse your batter with extracts, such as vanilla or mint, to match the season or occasion.
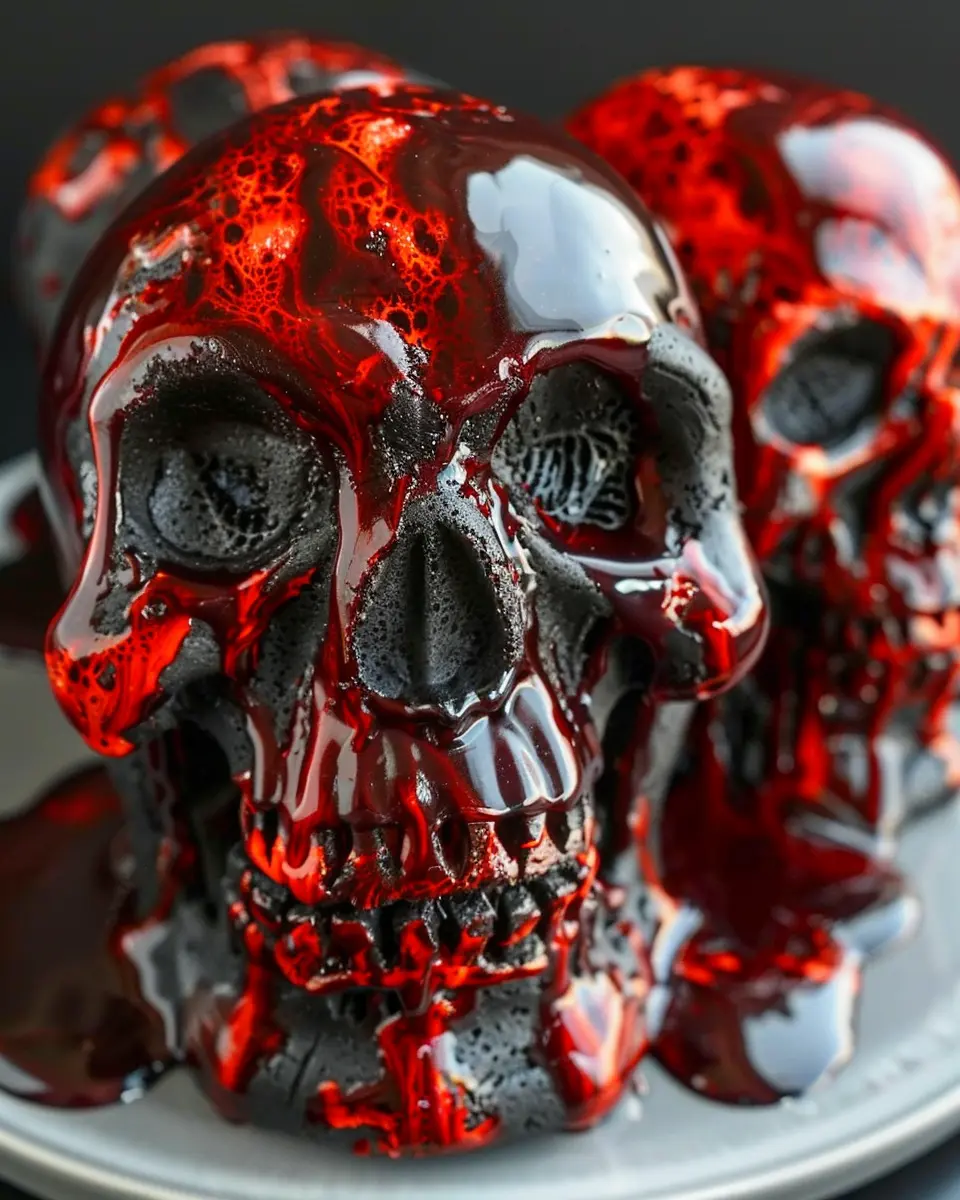
Decadent Chocolate Skull Cakes
If chocolate is your true love, consider creating a decadent chocolate skull cake. You can make the cake a rich dark chocolate mousse, filled with melted chocolate ganache at the center. Picture this: cutting into the skull cake only to reveal a warm, molten heart of chocolate that flows just like lava—you’ll have guests raving about your baking skills (and maybe even begging for the recipe!).
To up the ante, think of layering flavors! Want to make it a bit fruity? Add raspberry or orange zest into your ganache for a balanced taste. Or, drizzle some coffee-infused chocolate sauce over your icing to add that extra dimension—coffee and chocolate are a match made in heaven!
Experimentation is key, and with so many possibilities for skull lava cake, there’s a sure bet your next gathering will be memorable. Interested in more tips? Explore resources from The Baker’s Kitchen for inspiration.
Baking Tips and Notes for Skull Lava Cake
Creating the perfect skull lava cake can be a delicious yet slightly daunting task. But don’t worry; with a few handy tips, you’ll ace it!
Use Fresh Ingredients
Always start with the freshest ingredients possible. High-quality chocolate and eggs can significantly impact the taste and texture of your lava cake. Look for dark chocolate that’s at least 70% cocoa for the richest flavor. If you’re not sure where to find premium ingredients, check in local gourmet shops or specialty grocery stores.
Mastering the Lava Center
Getting that gooey lava center can be tricky. Bake the cakes just until the edges are firm but the center remains soft—about 12-14 minutes is often perfect.
The Right Serving Temperature
For the ultimate experience, serve the skull lava cake warm. If it cools down, simply pop it in the microwave for a few seconds to restore that ooey-gooey goodness.
Personal Touches
Feel free to experiment! Maybe swap in some flavored extracts like vanilla or almond for a unique twist. Don’t forget to adorn it with a scoop of ice cream or a sprinkle of powdered sugar for that visually stunning effect.
Happy baking—your skull lava cake is bound to impress! For more insightful tips on baking, consider checking out resources like King Arthur Baking or Bon Appétit.
Serving Suggestions for Skull Lava Cake
When it comes to creating the perfect dining experience, serving your skull lava cake can be just as exciting as baking it! Here are some delightful ideas to elevate your dessert game.
Pair with Fresh Fruits
Enhance the richness of your skull lava cake by pairing it with seasonal fruits. Think strawberries, raspberries, or even a tart green apple to cut through the sweetness. Their vibrant colors also make for an eye-catching plate that pops!
Add a Scoop of Ice Cream
Nothing elevates a warm chocolate meal quite like a scoop of ice cream. Vanilla, mint chocolate chip, or even a daring chili chocolate ice cream can take your cake to another level of yum. The contrast between the warm cake and cold ice cream is simply divine.
Drizzle with Sauce
Consider drizzling your cake with a homemade raspberry or caramel sauce. Not only does it add another layer of flavor, but it also gives your dessert a professional look—perfect for impressing guests.
Create a Themed Presentation
For themed events, use skull-shaped plates or Halloween-inspired decorations around the dessert. Guests will love the thought you put into presenting your skull lava cake.
Make sure to check out suitable serving dishes at Food Network Store for ideas! These tips will not only enhance the flavor but also make your skull lava cake the star of the show!
Time Breakdown for Skull Lava Cake
Preparing a delicious skull lava cake can be a thrilling adventure in the kitchen. Here’s a quick overview of how long this indulgent treat will take to whip up!
Preparation Time
Getting everything ready for your skull lava cake will take about 20 minutes. This includes gathering your ingredients and mixing them to create that luscious batter. Trust me; the anticipation will make every second worthwhile!
Cooking Time
Once your batter is ready, pop your cakes into the oven, and let them bake for 12-15 minutes. This brief cooking time ensures that the centers stay ooey-gooey.
Total Time
In total, you’re looking at around 35-40 minutes from start to finish. That’s a small price to pay for a dessert that’s sure to impress your friends. By the way, if you want to elevate your experience, consider pairing your skull lava cake with a scoop of vanilla bean ice cream or a warm cup of coffee. For more inspiration, check out this baking guide to enhance your skills!
Nutritional Facts for Skull Lava Cake
Calories per Cake
Indulging in a skull lava cake can be a delightful splurge! On average, each serving contains around 400 calories. This makes it a perfect dessert for sharing or savoring for a special occasion, especially when you’re craving something rich and decadent.
Breakdown of Key Nutrients
Understanding the nutrients in your skull lava cake can help you enjoy it guilt-free. Here’s a quick rundown:
- Fats: Approximately 20g, primarily from rich dark chocolate and butter, providing that delightful creaminess.
- Carbohydrates: About 50g, mainly from flour and sugar, delivering those beautiful layers of sweetness.
- Protein: Roughly 6g per cake, thanks to the eggs, which not only bind the ingredients but also create a tender texture.
Looking for more ways to enjoy dessert without sacrificing flavor? Check out Healthline for insights on balancing indulgence with nutrition. Embrace the joy of baking with full knowledge of what goes into your sweet treats!
FAQs about Skull Lava Cake
When diving into the spooky yet delicious world of skull lava cake, you might have a few questions. Don’t worry; we’ve got you covered with this handy FAQ section!
How do I know when the lava cakes are done?
The secret lies in the perfect bake. Ideally, you want your skull lava cake to have a firm exterior while still being gooey in the center. A good rule of thumb is to bake them for 12-14 minutes. When the edges are set but the middle still jiggles slightly, it’s time to pull them out. Trust me, a little practice will get you to the perfect timing, and your friends will be impressed!
Can I make these lava cakes in advance?
Absolutely! You can prepare the batter and pour it into your skull-shaped molds a day ahead. Just cover them with plastic wrap and keep them in the fridge until you’re ready to bake! Simply pop them in the oven when guests arrive for a freshly baked skull lava cake that will steal the show.
What can I use instead of red food coloring?
If you’d prefer to skip the artificial coloring, there are several alternatives. Beet juice is a fantastic and natural option that provides a vibrant red hue without any additives. Alternatively, you could use pomegranate juice or even freeze-dried strawberry powder for a natural twist.
For more insights on alternatives to food coloring, you might find resources from Healthline helpful. Embracing these natural substitutes not only supports your health but also gives your skull lava cake a unique flavor profile that your guests will rave about.
Feel ready to tackle that skull lava cake? Enjoy creating this delightfully spooky treat that’s perfect for any occasion!
Conclusion on Skull Lava Cake
Creating the skull lava cake is not only about satisfying your sweet tooth; it’s also an opportunity to unleash your creativity. This unique dessert is perfect for gatherings, especially around Halloween or themed parties, impressing guests with its delicious gooey center and striking appearance.
As you indulge, consider how this cake allows for flexibility in flavors and fillings – why not experiment with different fun toppings or decadent sauces? Need more dessert inspiration? Check out BBC Good Food or Epicurious for additional recipes.
When shared with friends, the skull lava cake transforms any occasion into a memorable celebration. Happy baking!
PrintSkull Lava Cake: Indulgent Delight for Your Homemade Dessert Table
A decadent dessert that combines the rich flavors of chocolate with a fun skull theme, perfect for your next gathering or Halloween party.
- Prep Time: 15 minutes
- Cook Time: 15 minutes
- Total Time: 30 minutes
- Yield: 4 servings
- Category: Desserts
- Method: Baking
- Cuisine: American
- Diet: Vegetarian
Ingredients
- 1 cup all-purpose flour
- 1 cup granulated sugar
- 1/2 cup unsweetened cocoa powder
- 1/2 cup butter, melted
- 2 large eggs
- 1 teaspoon vanilla extract
- 1/4 teaspoon salt
- 1/2 teaspoon baking powder
- 1/2 cup chocolate chips
Instructions
- Preheat your oven to 425°F (220°C) and grease a skull-shaped cake pan.
- In a large mixing bowl, combine the flour, sugar, cocoa powder, salt, and baking powder.
- Add the melted butter, eggs, and vanilla extract to the dry ingredients and mix until well combined.
- Fold in the chocolate chips.
- Pour the batter into the prepared pan.
- Bake for 12-15 minutes, until the edges are set but the center is still soft.
- Let cool slightly before inverting onto a plate.
Notes
- Serve warm with vanilla ice cream for an extra treat.
- Feel free to add a dusting of powdered sugar for decoration.
Nutrition
- Serving Size: 1 cake
- Calories: 350
- Sugar: 28g
- Sodium: 200mg
- Fat: 18g
- Saturated Fat: 10g
- Unsaturated Fat: 6g
- Trans Fat: 0g
- Carbohydrates: 42g
- Fiber: 3g
- Protein: 5g
- Cholesterol: 70mg